Hi Everyone!
As so many of you are interested in how I edit and fix my photos, I thought I’d write this blog post for you in the hope that it will be helpful! I’ll share the apps I use and a brief description of how / which tools within the apps that I found good for fixing different problems with my photos. Some of the apps are free, but for some there is a charge to be able to use certain tools.
Please not that I am by no means some sort of photo editing expert or guru haha. Content creation and photo editing is just a huge passion of mine and a hobby I really love so I am just sharing what I have learned through trial and error. I have not attended any photography / editing courses etc.
I hope you will find the information useful and helps you to fix some of your photos too. Please do let me know if you found it helpful and don’t be afraid to drop me a message have you have more questions.
With love, Holly x
1) Airbrush
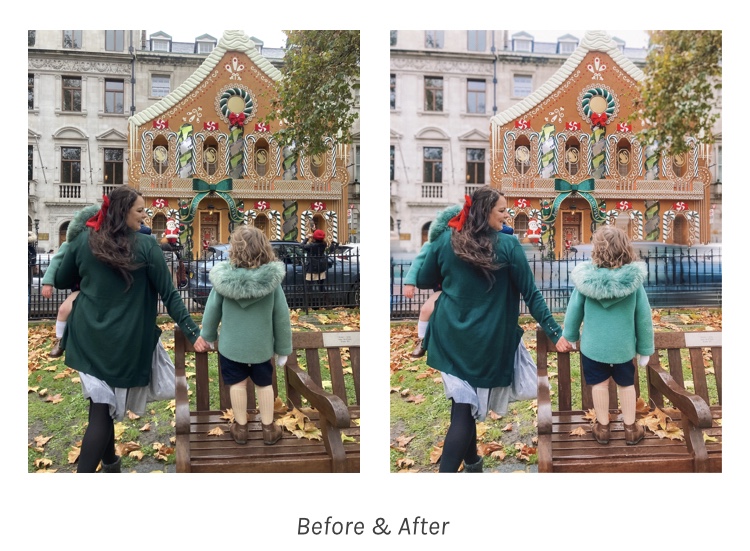
I mostly use the app Airbrush for one reason and that’s it’s “eraser” tool. It’s a tool that helps you remove unwanted people or items from your photos, such as people in the background. It can be quite tricky to get used to at first, but with a bit of practice you’ll be amazed at the results and be able to save lots of photos that you may have written off. Unfortunately you have to pay to use this tool, but for me it’s been a game changer. I use it to remove people from the background, remove mud off shoes or food off clothes and I also use it to remove creases in the background. It is very clever and will replace what you erase with what it thinks is underneath, based on the background around that section. My advice is to use it to erase little bits at a time rather than trying to erase a whole person at once.


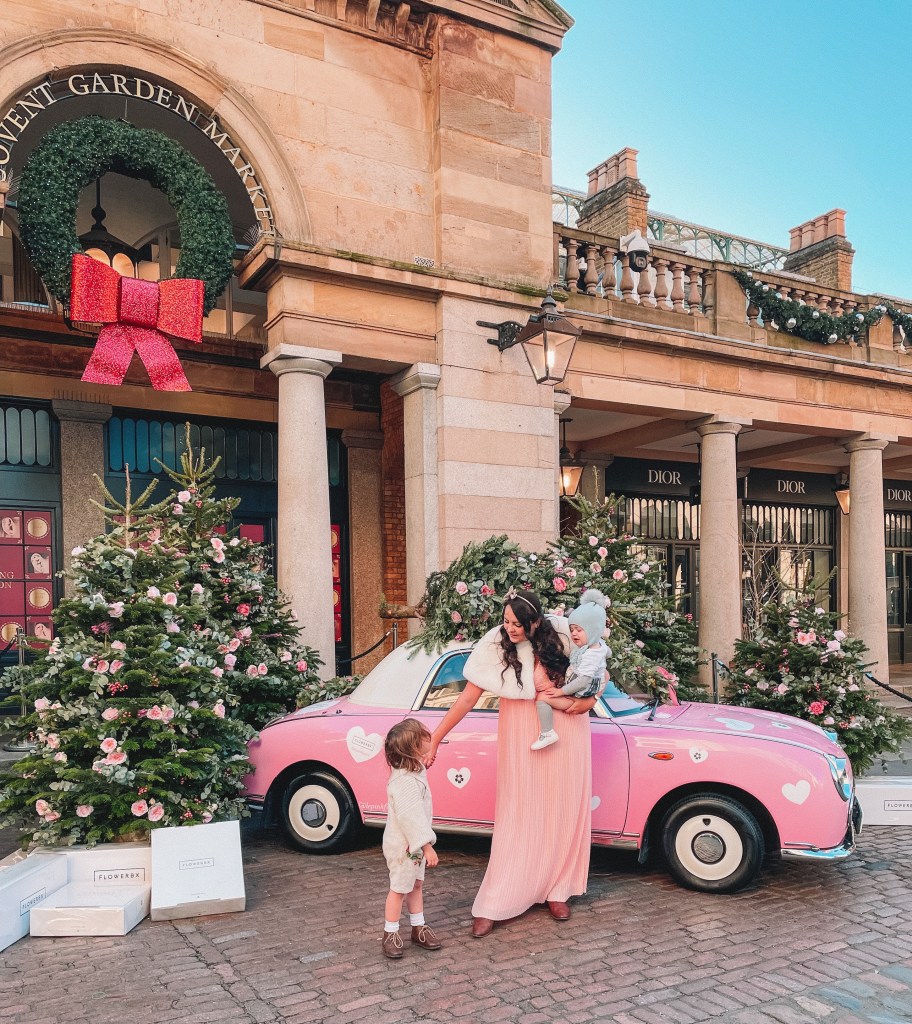
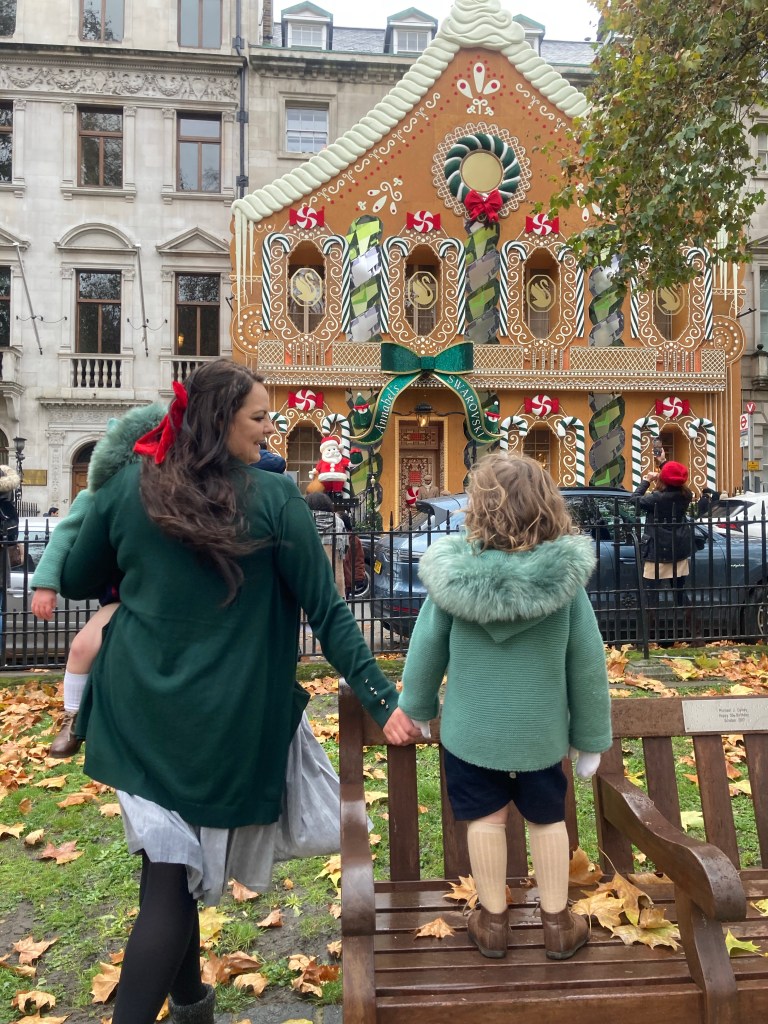
using Airbrush “eraser” to remove people in the background
2) PhotoRoom

I use PhotoRoom in 2 ways: to make the background (or foreground) blurry or to overlay 2 images.
Blurry background: When you select a photo to upload, PhotoRoom will automatically cut out what it thinks is the subject in that photo. You can then replace the background with one of their many templates or change your original background by editing how blurry it is, the colours, shadows etc. Sometimes the app won’t pick out your subject correctly, but you can do this manually yourself if there are other bits in the image you don’t want blurry for example. You do this by pressing “select subject” and use the paintbrush or eraser tools to choose which parts you want as your subject in the photo (not blurry). Once you’re happy with that, click on the background to adjust that. You can adjust how blurry it is by dragging the adjustment up and down the bar or you can even change the type of blurry to motion, pixel etc.
Overlaying images: sometimes when editing photos I’m happy with the colours in the background, but would like a different edit on the subject. In that case I will save the 2 edited versions of the photo that I like, upload the preferred subject one to PhotoRoom and then replace the background with the other edited photo I saved. This is particularly useful if you like to use presets, but don’t like how the preset looks on a certain part of your photo.
PhotoRoom is free to use, but it will save with a watermark in the bottom corner. You can either crop this out of your final image in camera roll or use a different app (Airbrush / Snapseed) to remove the text.

using PhotoRoom to make part of the background slightly motion blurry to create focus on the subjects.
3) Lightroom
Lightroom is my main photo editing app and I use it more than any other apps. It allows you to edit the usual bits in photos that need adjusting such as brightness, shadows, clarity, temperature, vibrancy etc. However my favourite reason for using it is because it lets you edit colours separately. For example if I want to brighten the photo, but want the greens to stay dark, I can do this. Just press “colour”, “mix”, and then tap the green circle – you can then adjust the hue, saturation and the luminance of the greens only. You can do this for all colours. By adjusting the hue you can even change the tone of colours; making reds more pink or yellows more green etc.
People also like to use Lightroom because you can buy and download presets on to there. A preset is a pre-set photo edit which will give you the same edit to all your photos at the touch of the button. Particularly useful if you like all your images to blend in and look the same with the same colours and tones etc as it means you don’t have to edit all the aspects 1 by 1 each time.
What I will say though is that Lightroom quickly takes up a lot of storage on a phone, especially if used often.
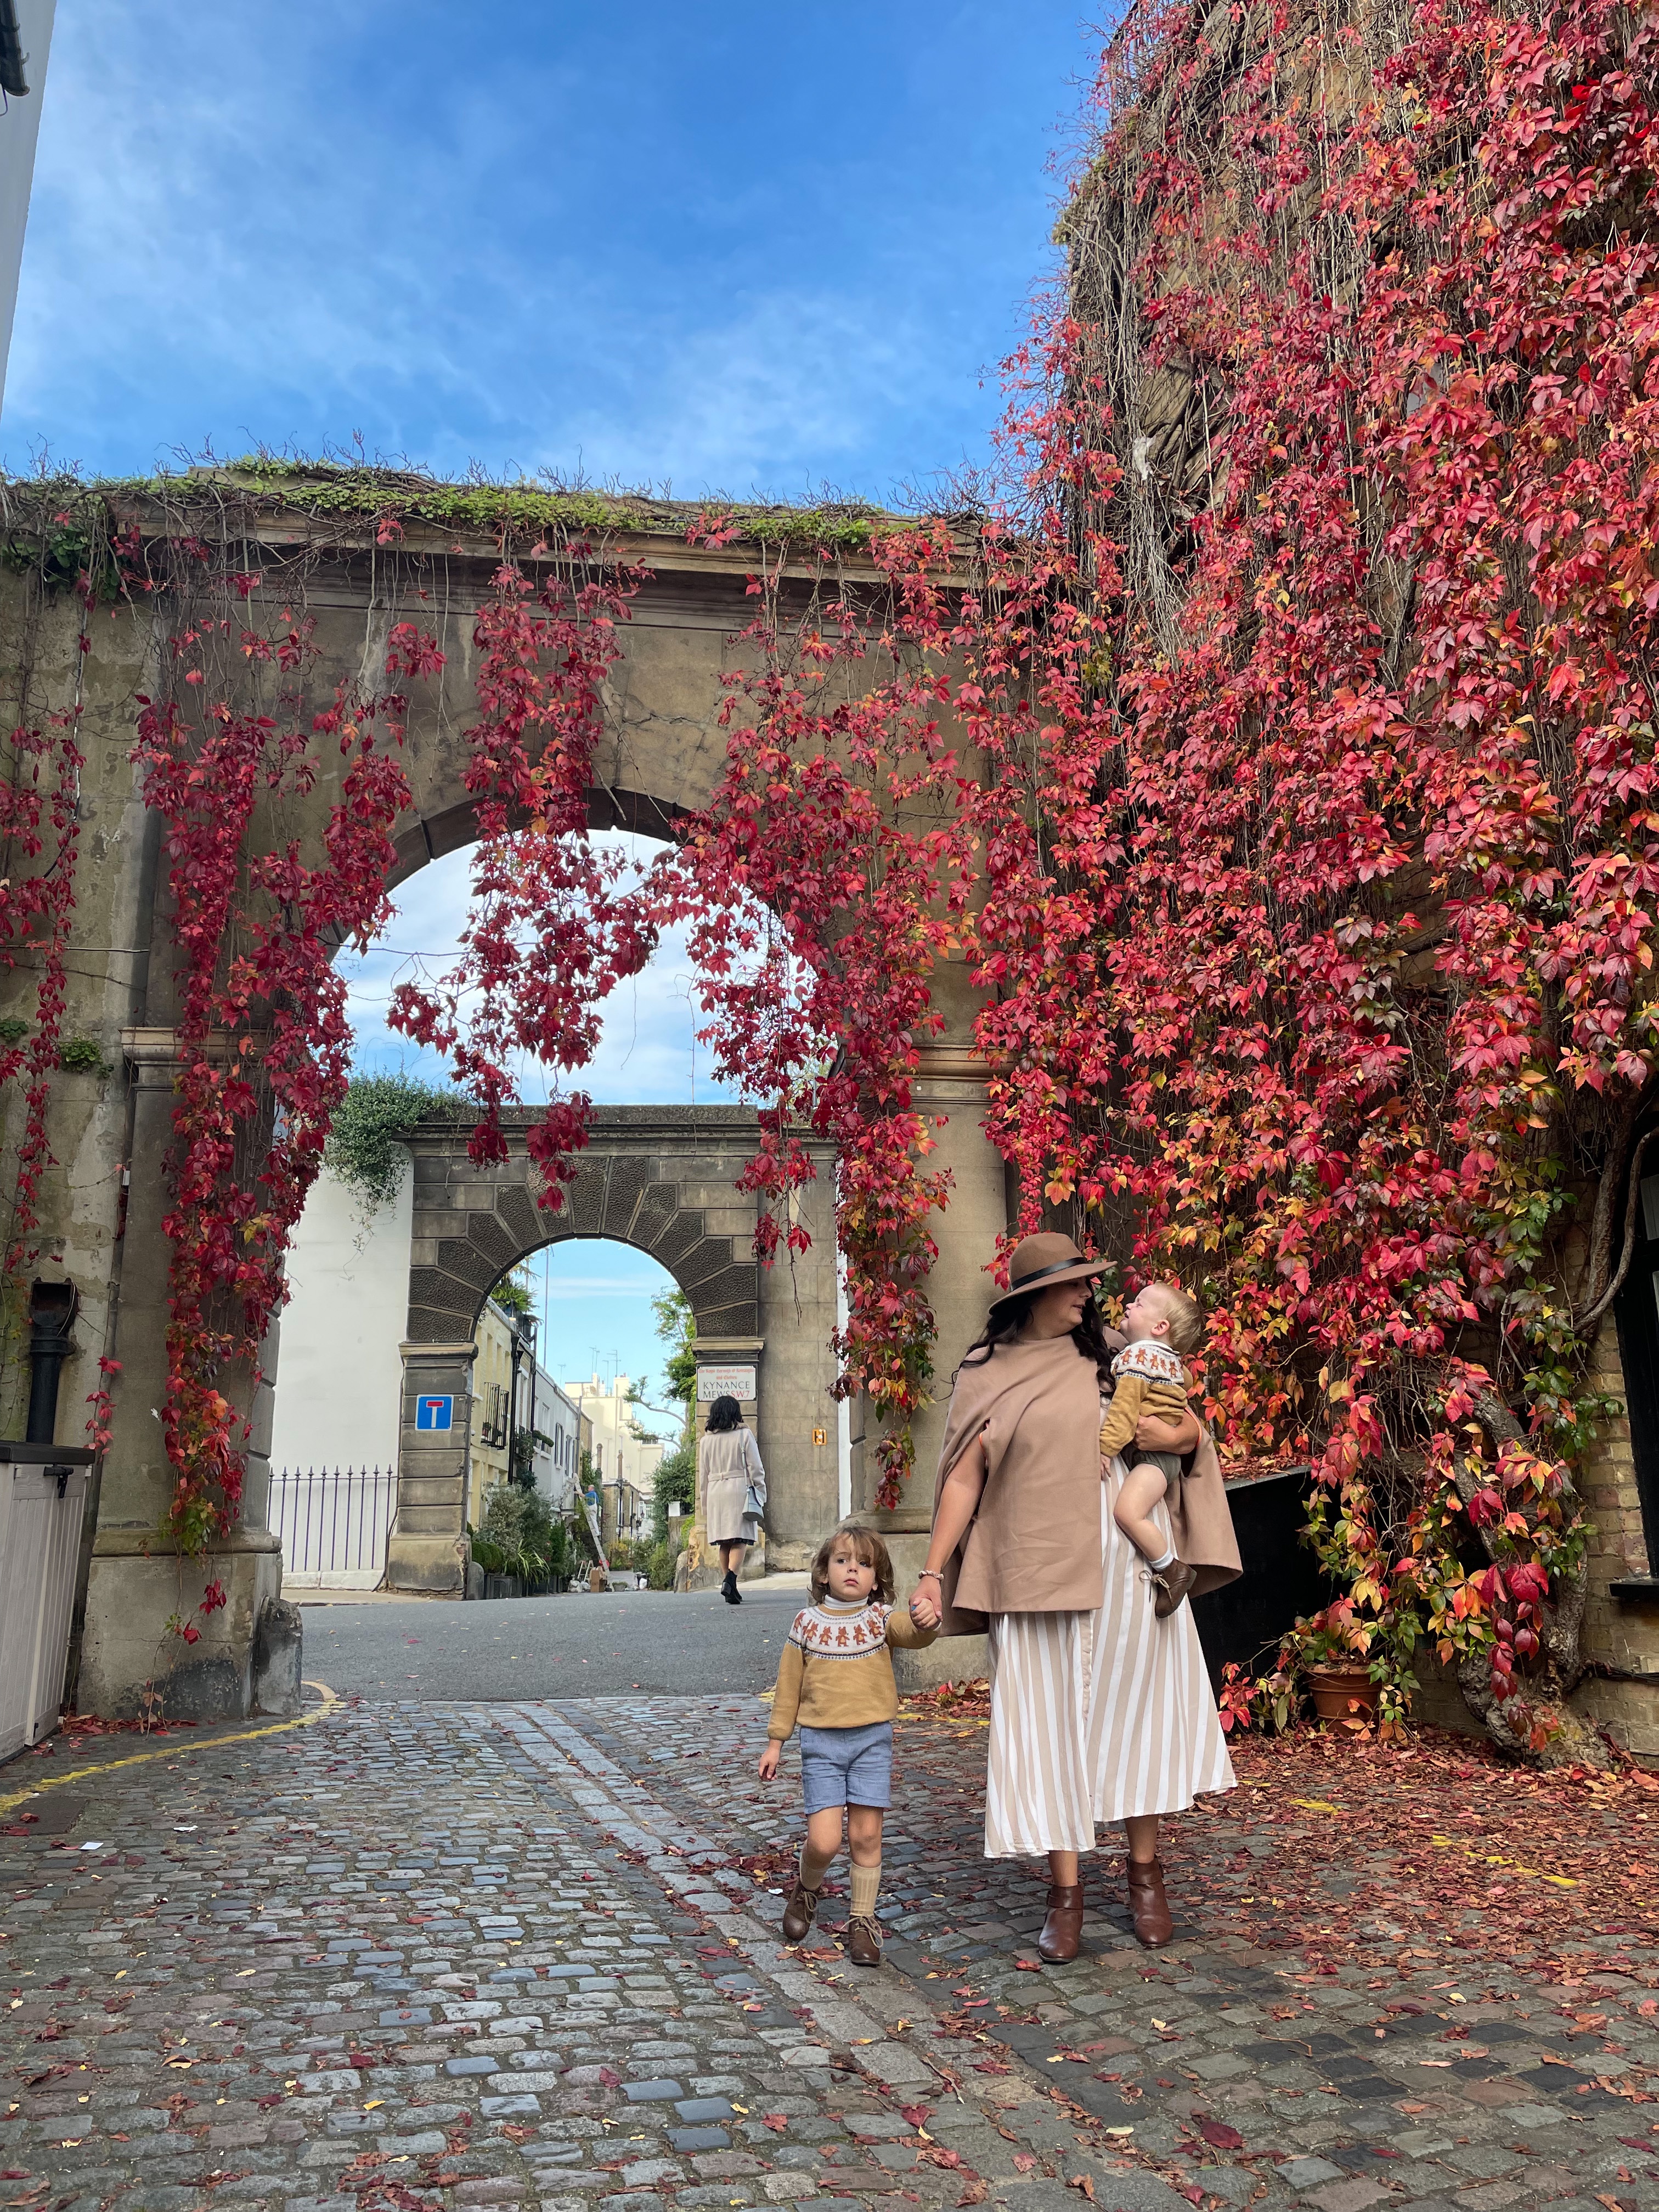
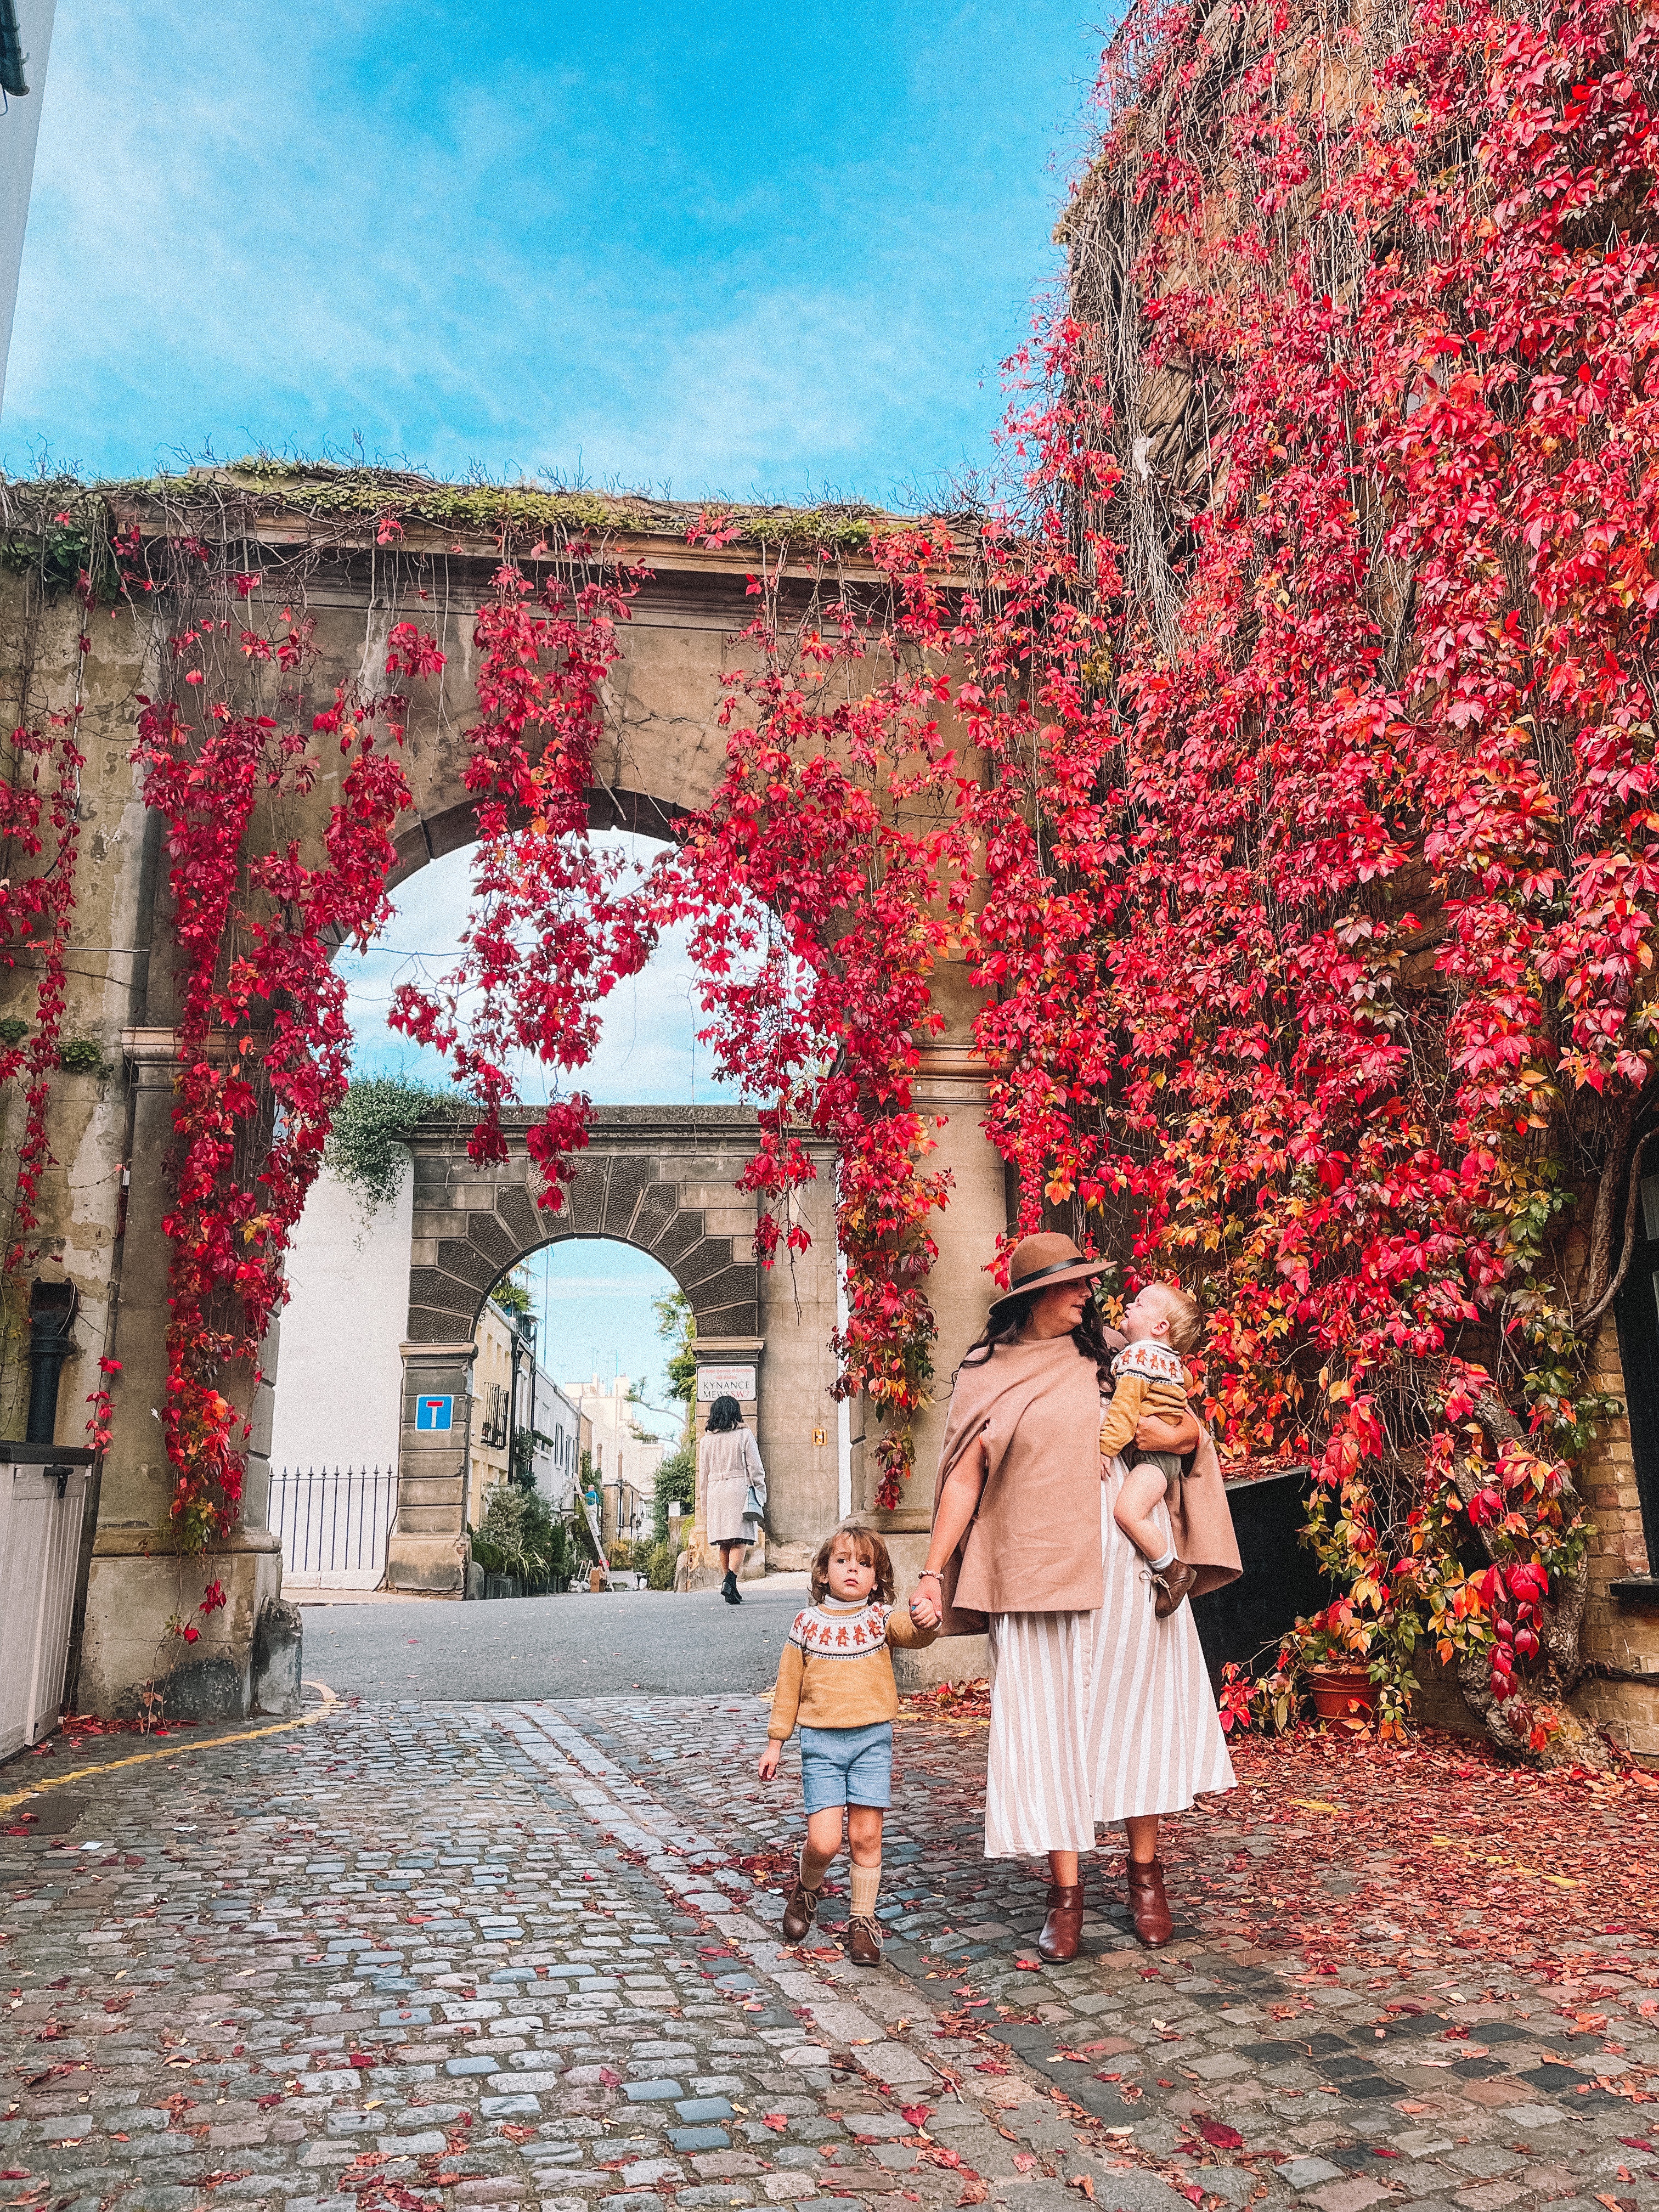
using Lightroom to increase brightness, reduce shadows, increase red saturation, and increase warmth and vibrancy.
4) Picsart
I don’t use Picsart very often, but it’s super useful if there are obstacles in the background that are too big to be erased. This is because it has an “add photo” tool which lets you add a photo on top of another one. You can also use an eraser to remove parts of the top photo you don’t need.
For example, in the image below, the man on the bicycle was too big for me to remove with Airbrush’s eraser tool. The app just didn’t have enough of the background to work with. So I screenshot the part of the background I needed from another photo and used Picsart to place that on top of the one I wanted to save, therefore placing it on top of the man on the bike.
Picsart have lots of fun filters and editing tools too, my favourite is the “colour replace” one. Go to “fx”, then “colors”, then “color replace” and you can totally change the colour of something in your photo. For example, if I’m wearing a blue dress, but I want it to be pink, this tool would be useful for that. It will edit all the blue in the photo and make it all pink, but you can use the eraser to change all the other bits back to blue except for the dress (or whatever it is you want to change!)
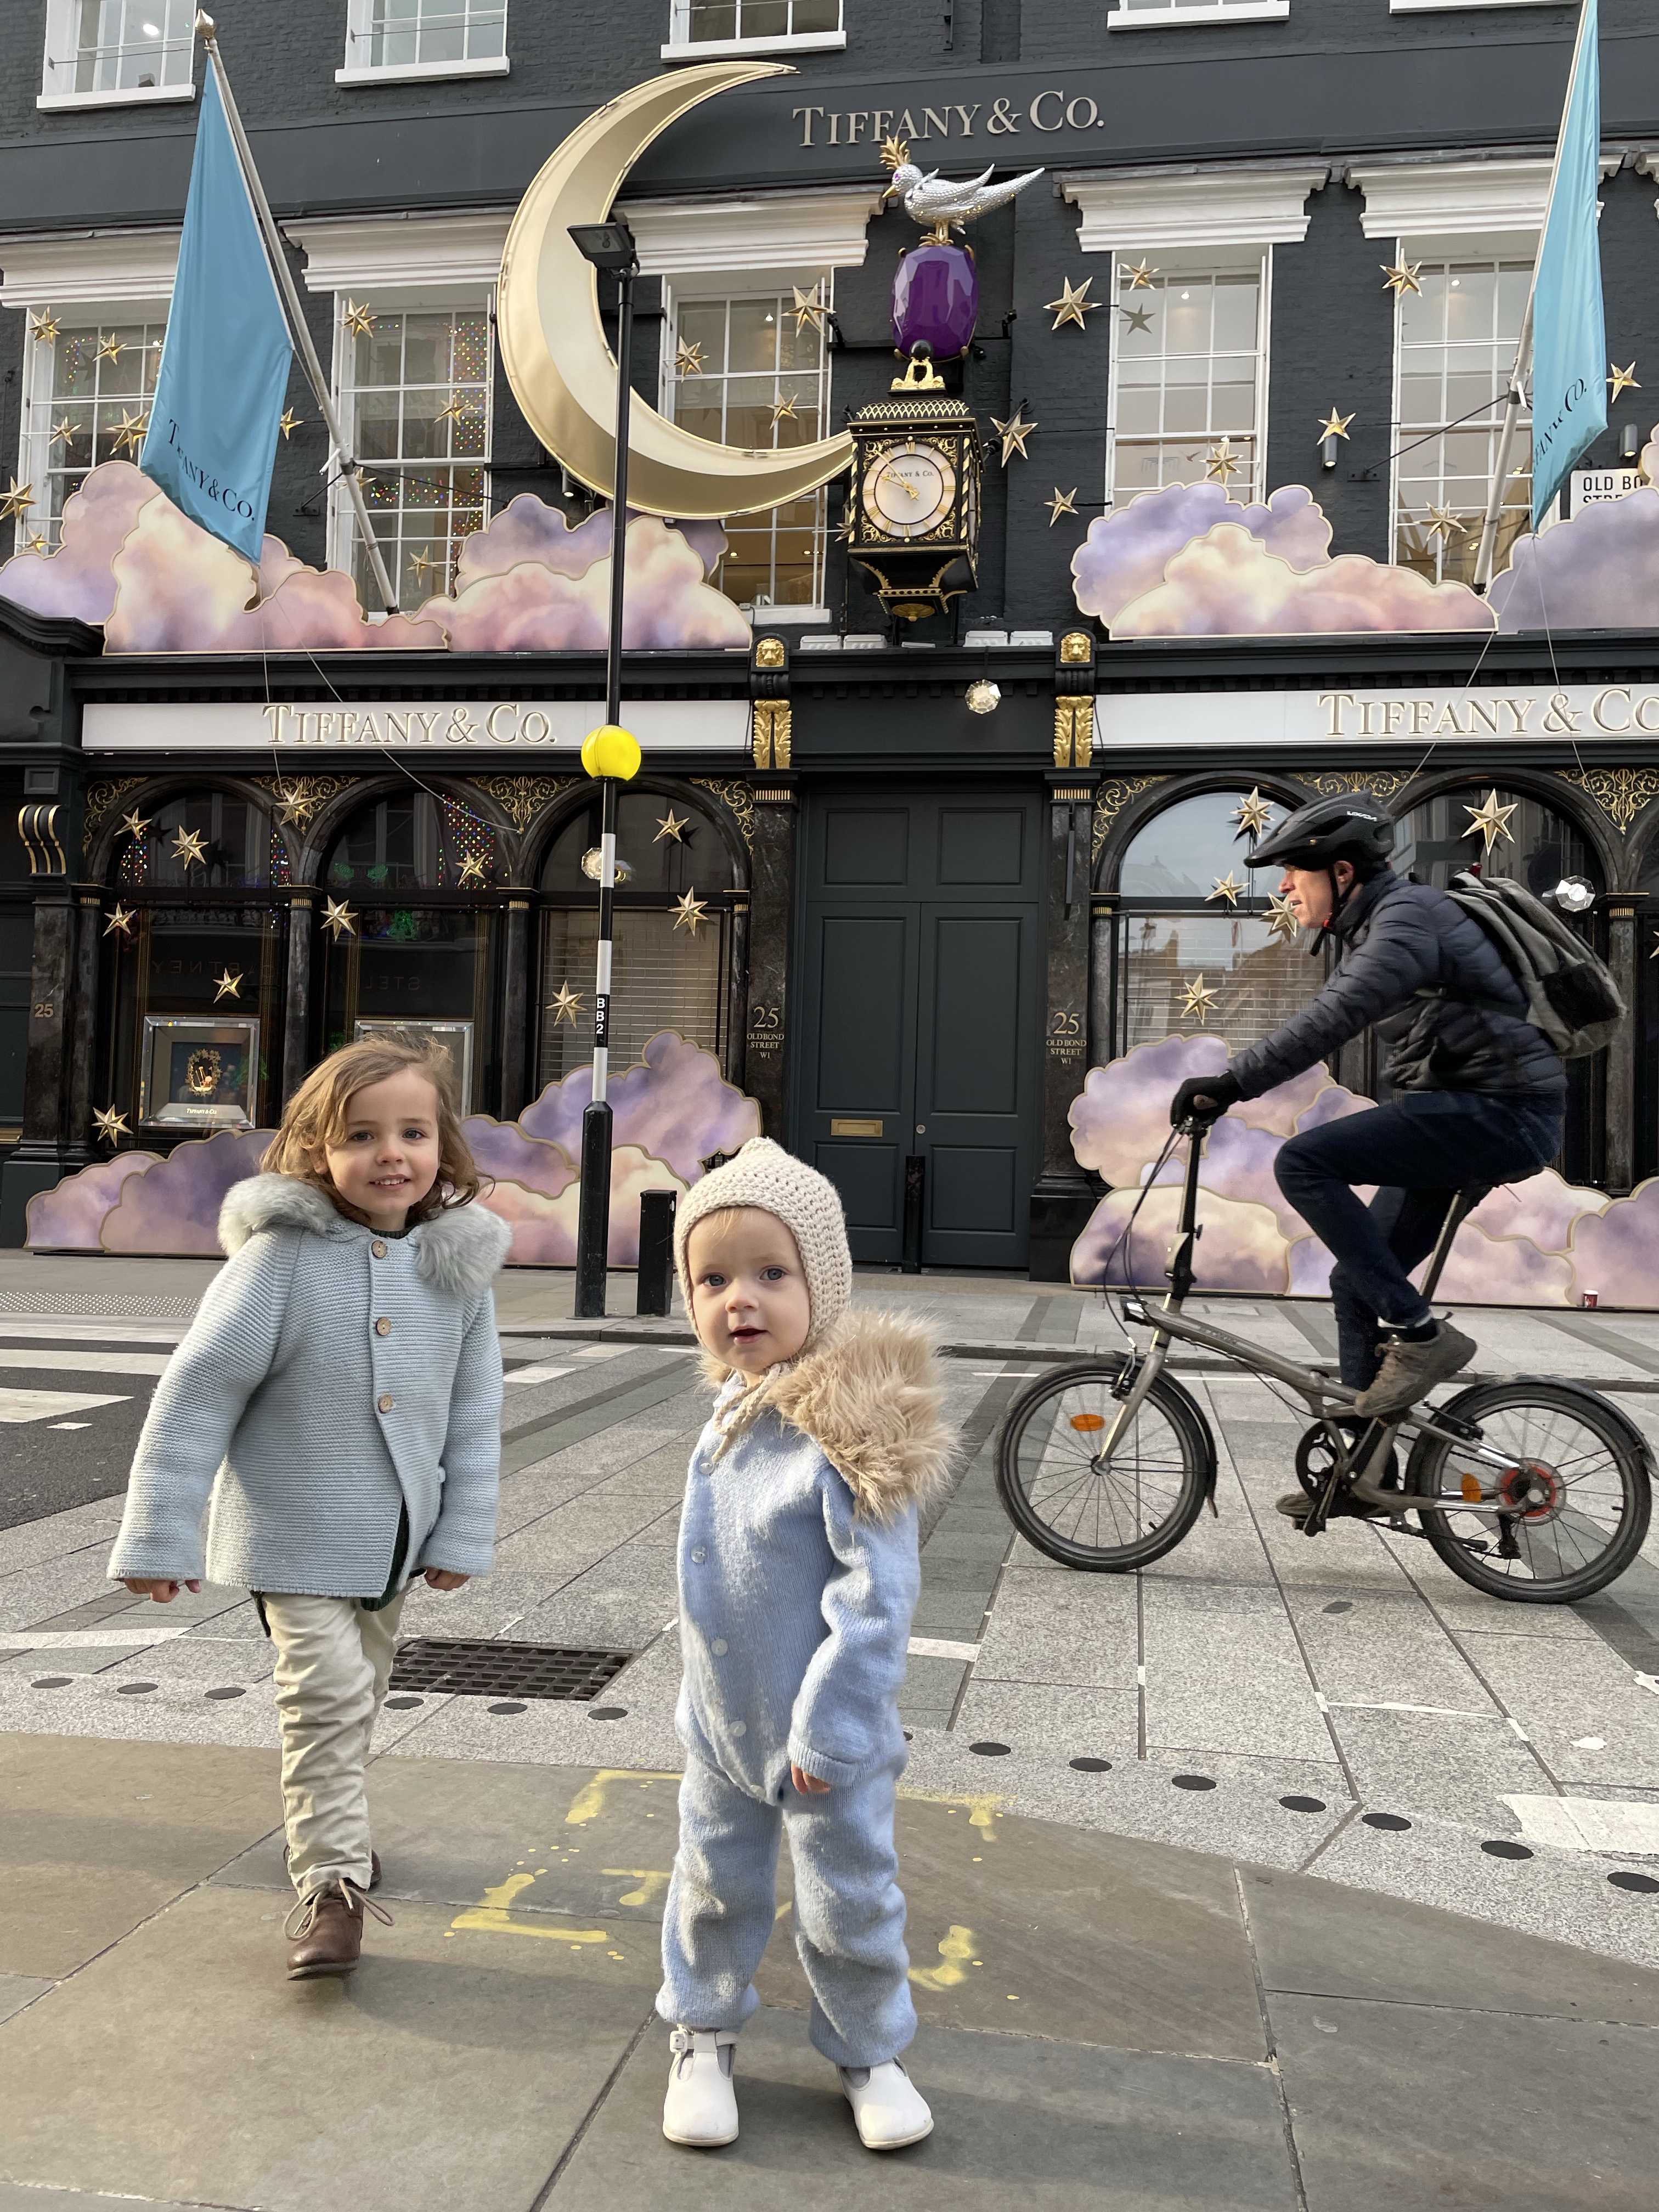
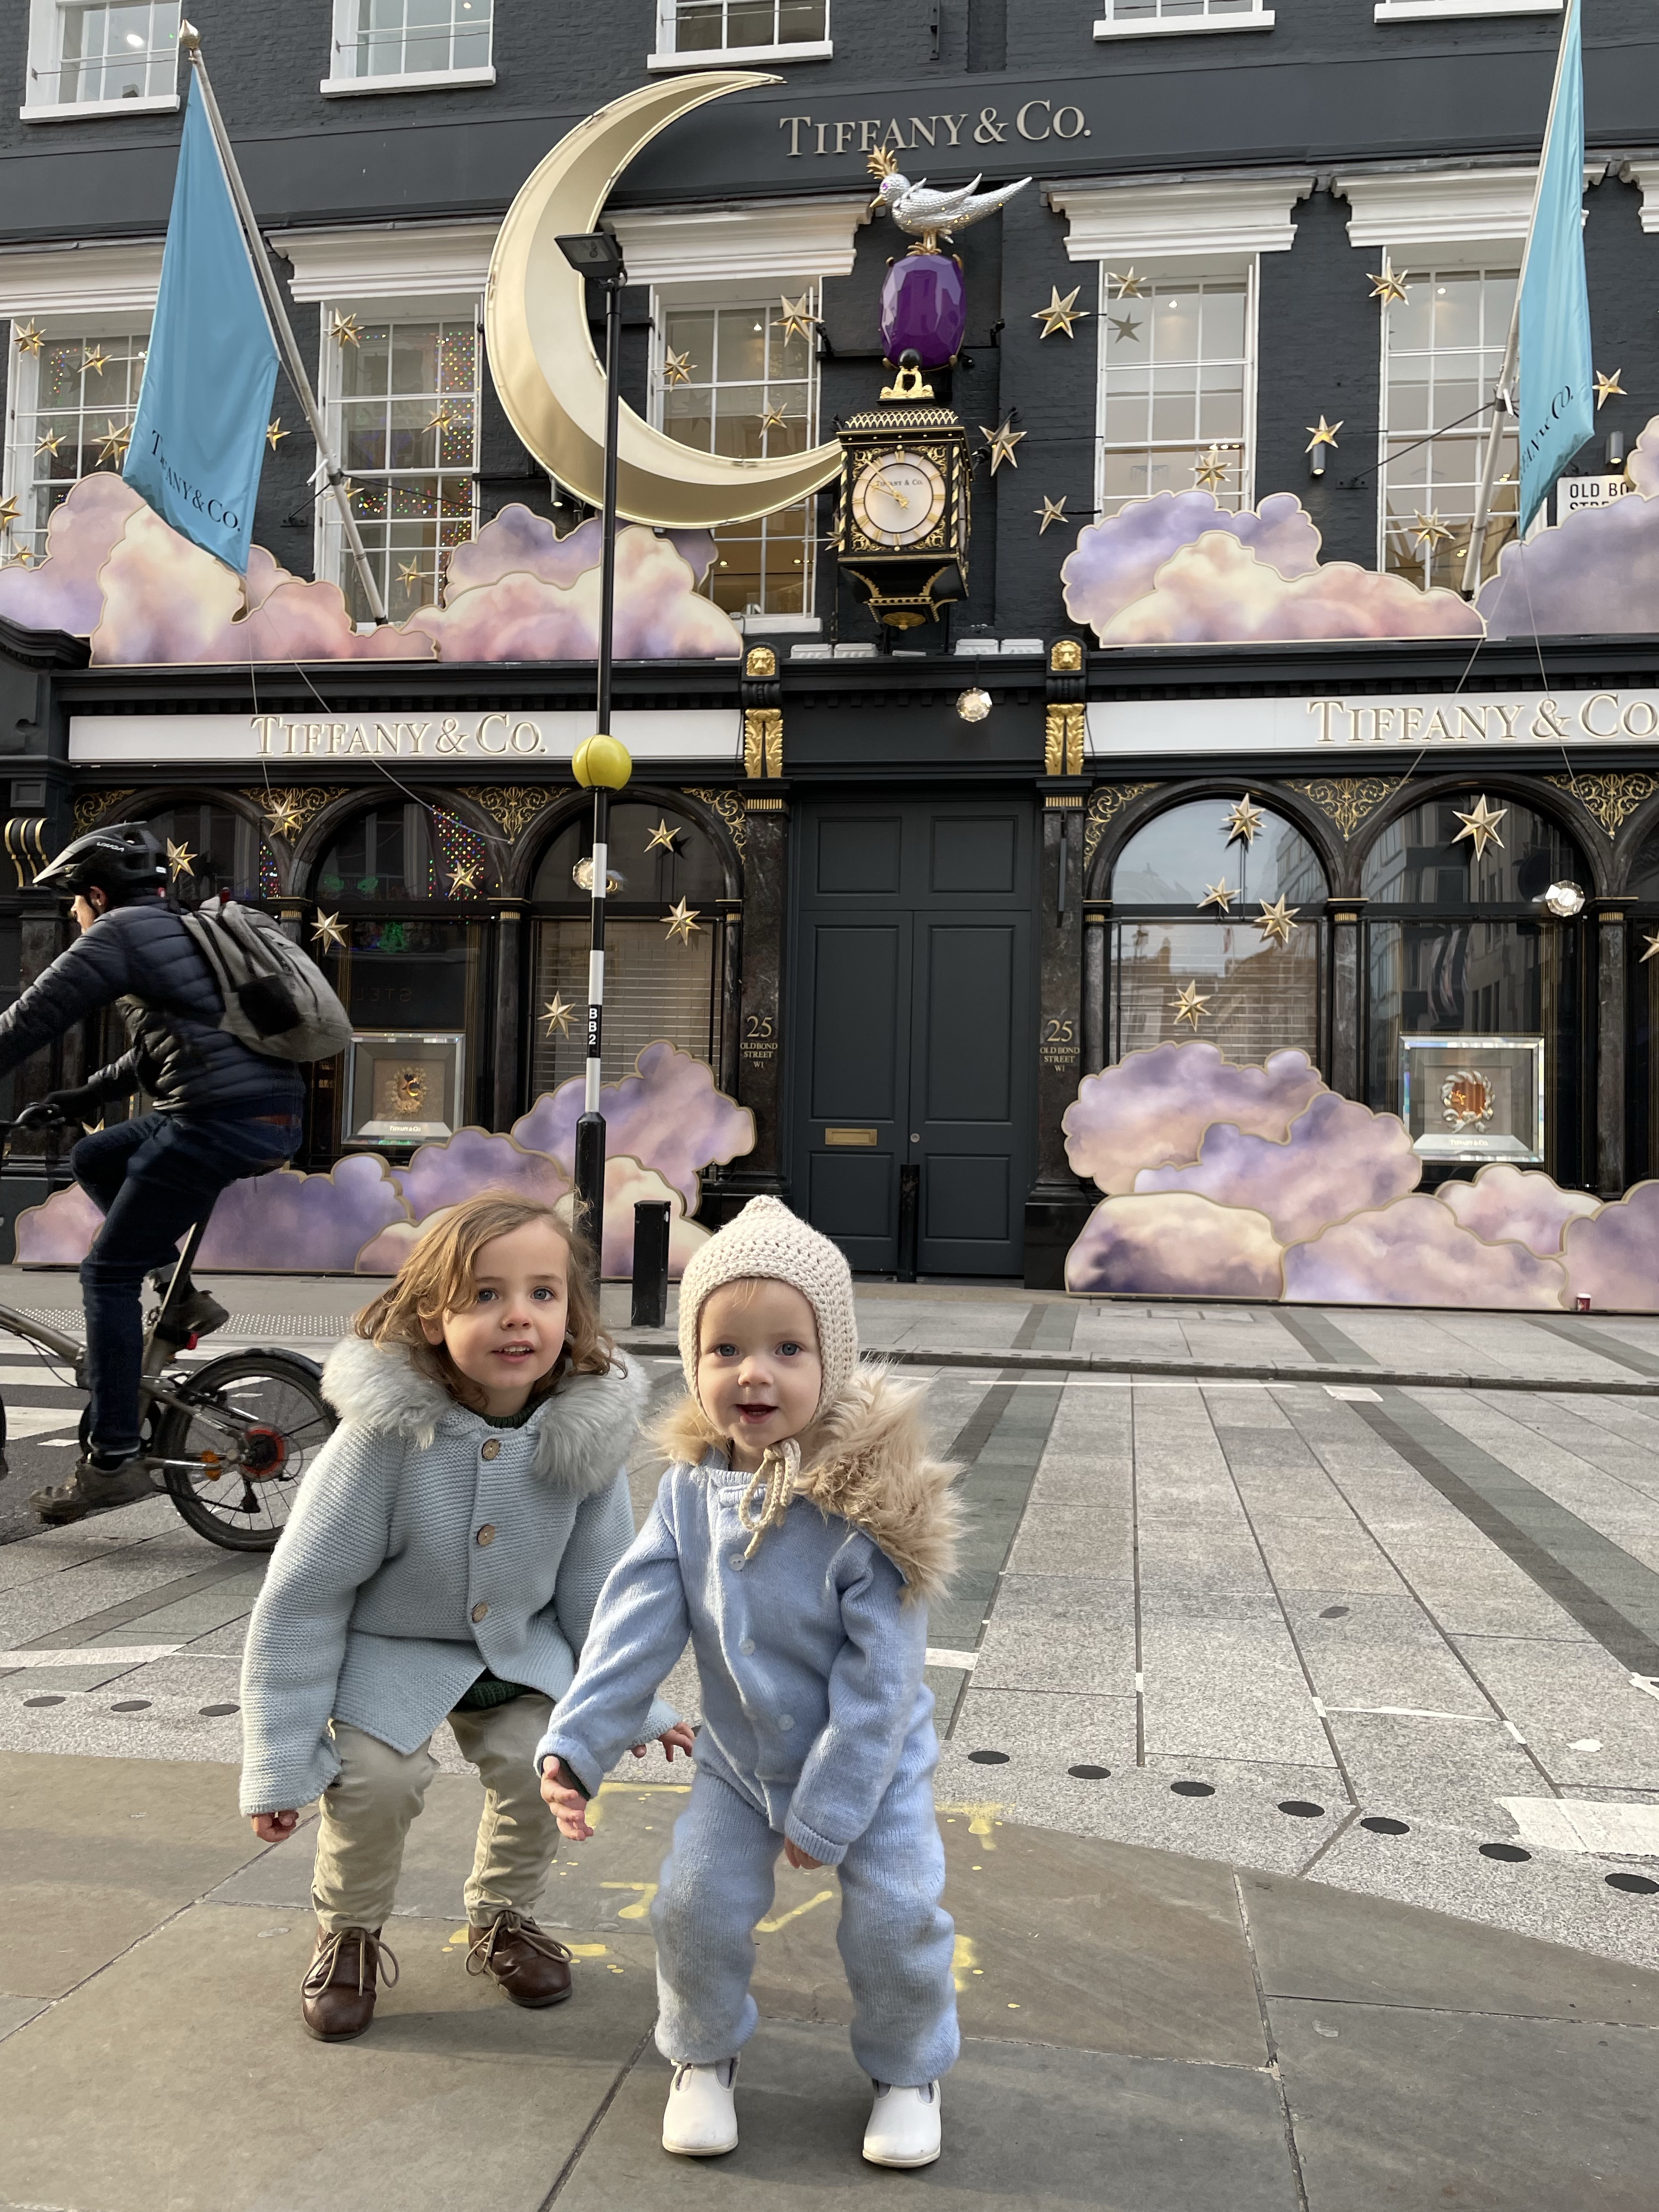

using Picsart to add part of the background of one photo on top of the background of another to hide person on bike in the background.
5) Snapseed

I don’t used Snapseed very much anymore, but it is a great app for just getting in to photo editing. It has a “healing” tool which works in a similar way as Airbrush’s “eraser” to remove things from the background. It’s not as affective or clever, but it does work, especially on smaller details that need erasing – and it’s free!
Now and then I will open up Snapseed to adjust the size of my background by using the “expand” tool as this will cleverly stretch your background tiny bit at a time so it fits in a grid post better or something. The only other time I used Snapseed nowadays is if I want to quickly edit the brightness in one section only of a photo. I use the “selective” tool then press on the colour / area I want to adjust. It will say B in a circle (meaning brightness) and you can adjust this by swiping across the screen to turn brightness up or down. If you swipe up the screen it will change to C (contrast), S (saturation) and S (structure) too and let’s you edit those in the same way. Very quick way to fix small areas.
I hope this information is useful for you and you are now able to save some photos that you love. Please do let me know in a comment if you found it helpful and don’t hesitate to get in touch if you have any other questions. X